- Compare drawings against the line as it stands, since undocumented modifications are common on older pipelines.
- Bend radius, valve bore, unbarred tees and internal protrusions are the usual obstacles to a successful run.
- Flow, pressure and cleanliness affect both tool passage and the quality of the inspection data.
- Staged proving runs with cleaning, gauging and geometry tools reduce the risk of a stuck tool.
An in-line inspection programme can be delayed for months by something a drawing review would have caught: a reduced-bore valve, an unbarred tee, a short-radius bend installed during a tie-in, or a launcher too short for the tool the vendor wants to run. Sometimes the problem is only found when a tool sticks, which turns an inspection into a recovery operation.
Many older lines in the region were never designed to be pigged, and even lines that were may have been modified since. Before a contract is placed for an inspection tool, it pays to answer one plain question with evidence: can a tool get from the launcher to the receiver, in one piece, collecting good data on the way?
Start with the line as it is
Pull together the alignment sheets, isometrics, P&IDs, valve data sheets and any records of modifications, hot taps, repairs and tie-ins. Then compare them with what is actually in the field. Undocumented changes are common, especially on lines that have been in service for decades or have passed between operators. A walk of accessible sections, launcher and receiver areas and valve stations will often uncover details that never reached the drawings.
The physical checklist
Inspection vendors specify their own limits, and those limits vary by tool type and size. The features to check are broadly the same for any tool:
- Bend radius: confirm every bend meets the minimum radius the tool can negotiate, paying particular attention to field bends, mitres and back-to-back bends.
- Valves: check that mainline valves are full-bore, and that check valves, reduced-port ball valves or plug valves will not obstruct the tool.
- Tees and branches: confirm that larger branch connections are barred or otherwise protected so the tool cannot turn into them or lose drive.
- Diameter and wall changes: identify bore changes from wall thickness transitions or mixed pipe sizes, and whether a multi-diameter tool is needed.
- Internal protrusions: look for thermowells, probes, corrosion coupons, injection quills and excess weld penetration that could catch or damage a tool.
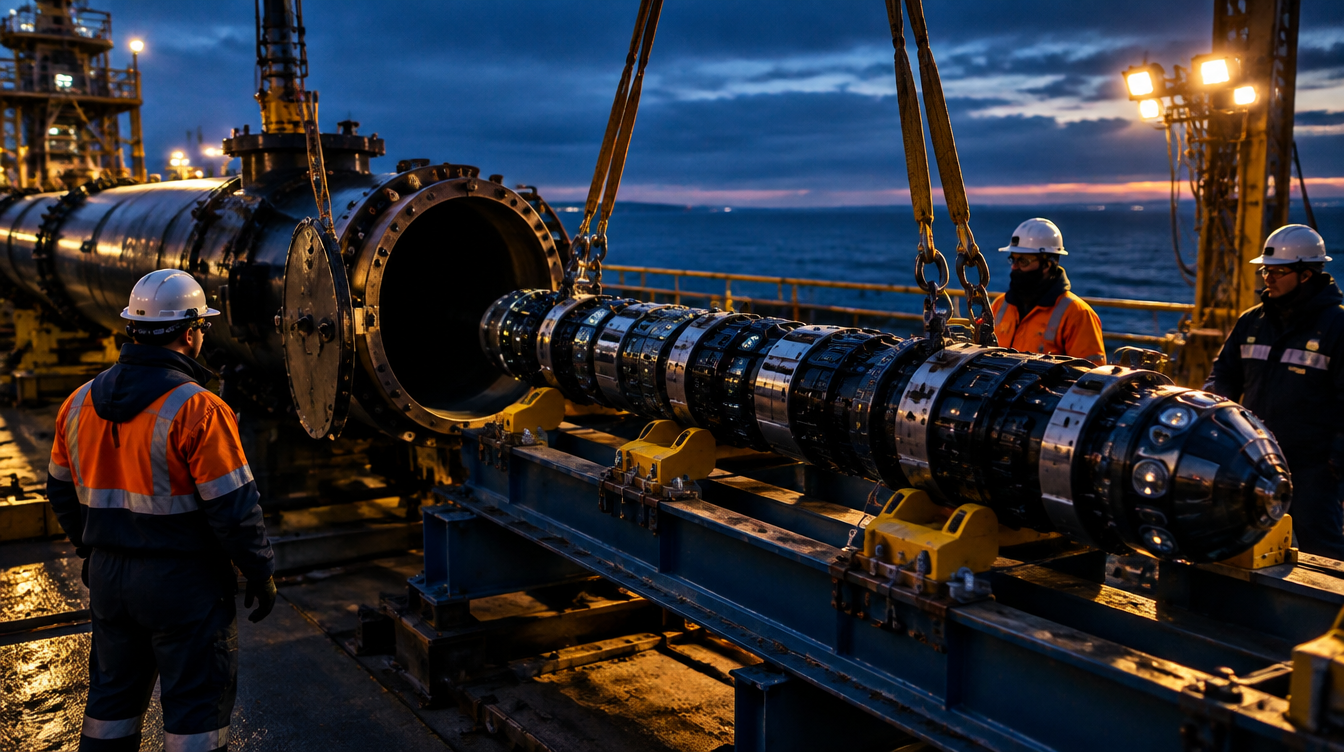
- Launchers and receivers: check barrel lengths, oversize barrel diameters, closures, kicker and bypass lines, and lifting access for the intended tool.
Flow and pressure conditions
A tool driven by the product needs flow conditions that keep it within its working velocity range. Too slow and it can stall or record poor data; too fast and some technologies lose resolution or the tool is damaged. Low-flow gas lines, lines with large elevation changes and lines that operate intermittently need particular thought. Pressure matters too, since some tools need a minimum differential to seal and travel smoothly. Discuss expected flow, pressure, temperature and product composition with the vendor early, and confirm whether operations can hold those conditions for the full duration of the run.
Proving the line before the intelligent tool
The cheapest pig you run is the one that tells you the expensive one will come back.
A staged approach reduces the risk of a stuck or damaged tool. A typical sequence is:
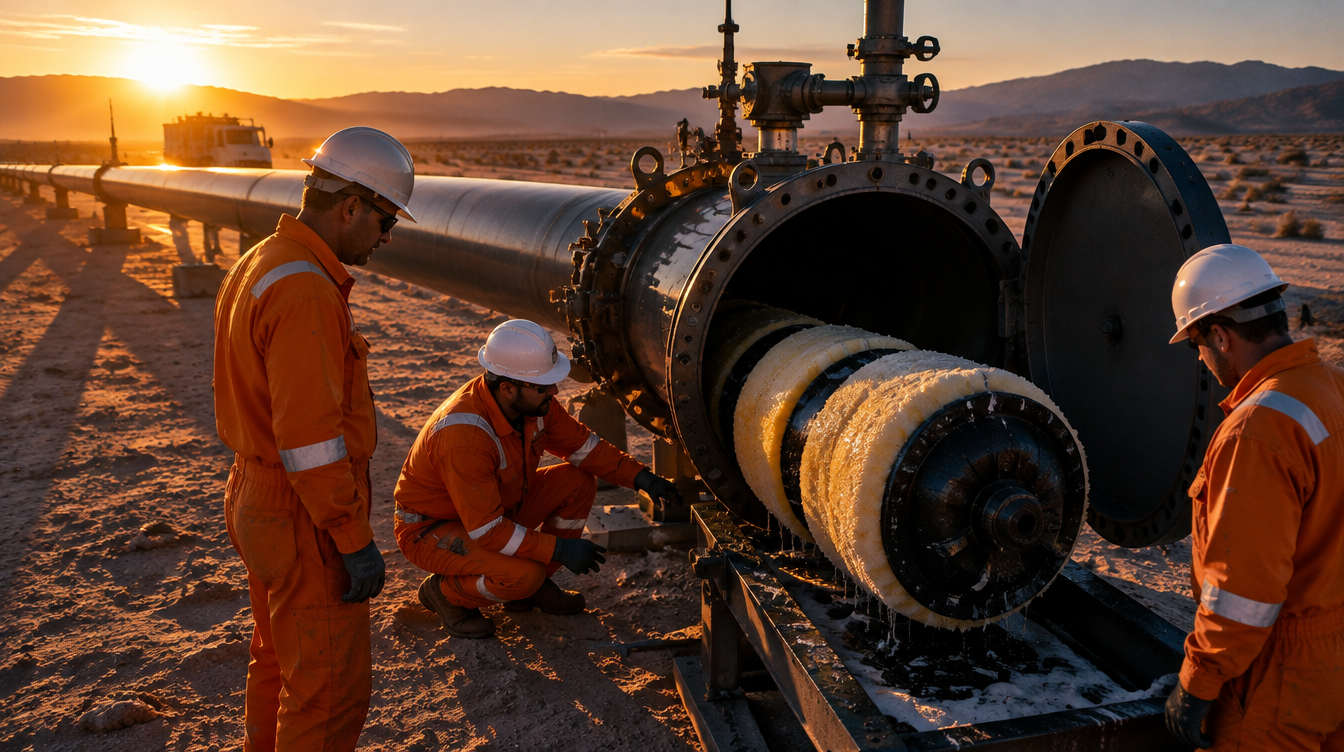
- Run cleaning pigs of increasing aggressiveness until debris and wax returns are acceptable.
- Run a gauging pig with a plate sized to the inspection vendor's requirement, and inspect the plate for damage.
- Where uncertainty remains, run a geometry or calliper tool to map dents, ovality and bends.
- Run a dummy tool that mimics the length and stiffness of the inspection tool, if the vendor recommends it.
- Review all results with the vendor and confirm readiness before mobilising the inspection tool.
Cleaning is not only about getting the tool through. Debris and deposits on the pipe wall degrade data quality, particularly for magnetic flux leakage and ultrasonic tools, so a line that is passable but dirty can still produce a poor inspection. Agree with the vendor what level of cleanliness their technology needs, and how it will be judged from the cleaning returns.
When the answer is "not yet"
Many lines are partly piggable. Options include temporary launchers and receivers, replacing reduced-bore valves during a planned shutdown, fitting bars to tees, or choosing a tool designed for challenging lines, such as a bidirectional or tethered tool. Where none of these is practical, other assessment methods, such as direct assessment or targeted external inspection, may be the right route. The choice should follow the threat profile of the line, not simply what is easiest.
Whatever the route, record the findings of the piggability review in the integrity file. The next team to plan an inspection should not have to start from scratch.
A practical first step
Take one line from your inspection plan and run a desk-based piggability review against the checklist above, then confirm the findings with a short site visit. You will either have the evidence a vendor needs or a clear list of modifications to plan for. KARR's in-line inspection team can carry out the review or support the proving runs if that would help.
Piggability, In-line inspection, Pigging